Login
- Go to https://olba.ca/wp-admin/
- Enter your email address and password
- Select the Remember Me box for future logins
- Click the Log In button
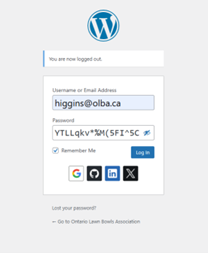
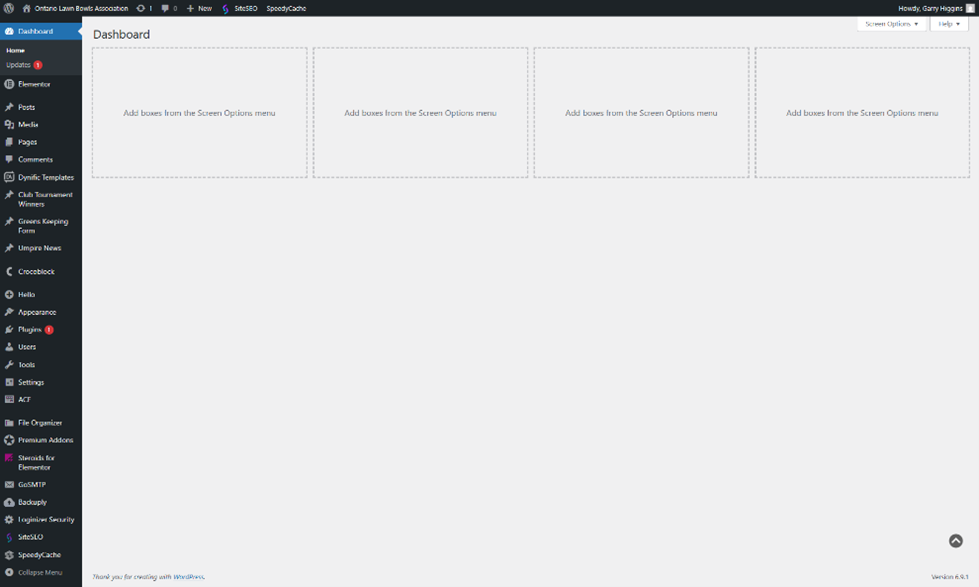
- This will take you to the WordPress Dashboard
How to edit an existing page
Site url
- After login, go to olba.ca
- Select the page you want to edit via the main menu (By-Laws & Policies for this example)
- In the top (black menu bar, select ‘Edit with Elementor’)
- Now you are in the page Editor. Click on an element to make changes (Heading, button text and link, the text editor…). We will cover this more in-depth later.
WordPress
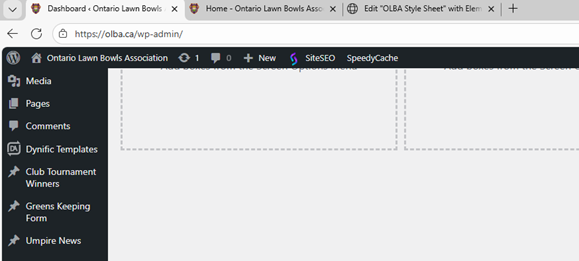
- After login, In the left menu, click Pages and select All Pages
- From the page list scroll to the page you wish to edit, and from the sub-menu, right-click Edit with Elementor. This will open the page in a new tab.
Workflow
I find it easiest to work with multiple tabs in your browser (hence the right-click). The Dashboard page, The live page – olba.ca (from the Dashboard, hover over the House icon at the top left, right-click the Visit Site link), and the page you are editing.
Style Sheet
A Style sheet has been prepared for the users https://olba.ca/olba-style-sheet/
All elements on this page can be copied and pasted into the page you are working on. Open this page in a new Tab so you can have easy access to it.
- In a new browser Tab, cut and paste this url: https://olba.ca/olba-style-sheet/
- In the top black menu bar right-click, Edit with Elementor, this will open a new tab where you edit the page.
- The left pane is the Elements section and on the right is the preview pane
Working with Elementor (page builder)
Layout
- In a new browser window, cut and paste this url: OLBA Style Sheet – Ontario Lawn Bowling Association
- In the top black menu bar click, Edit with Elementor
- The left pane is the Elements section and on the right is the preview pane
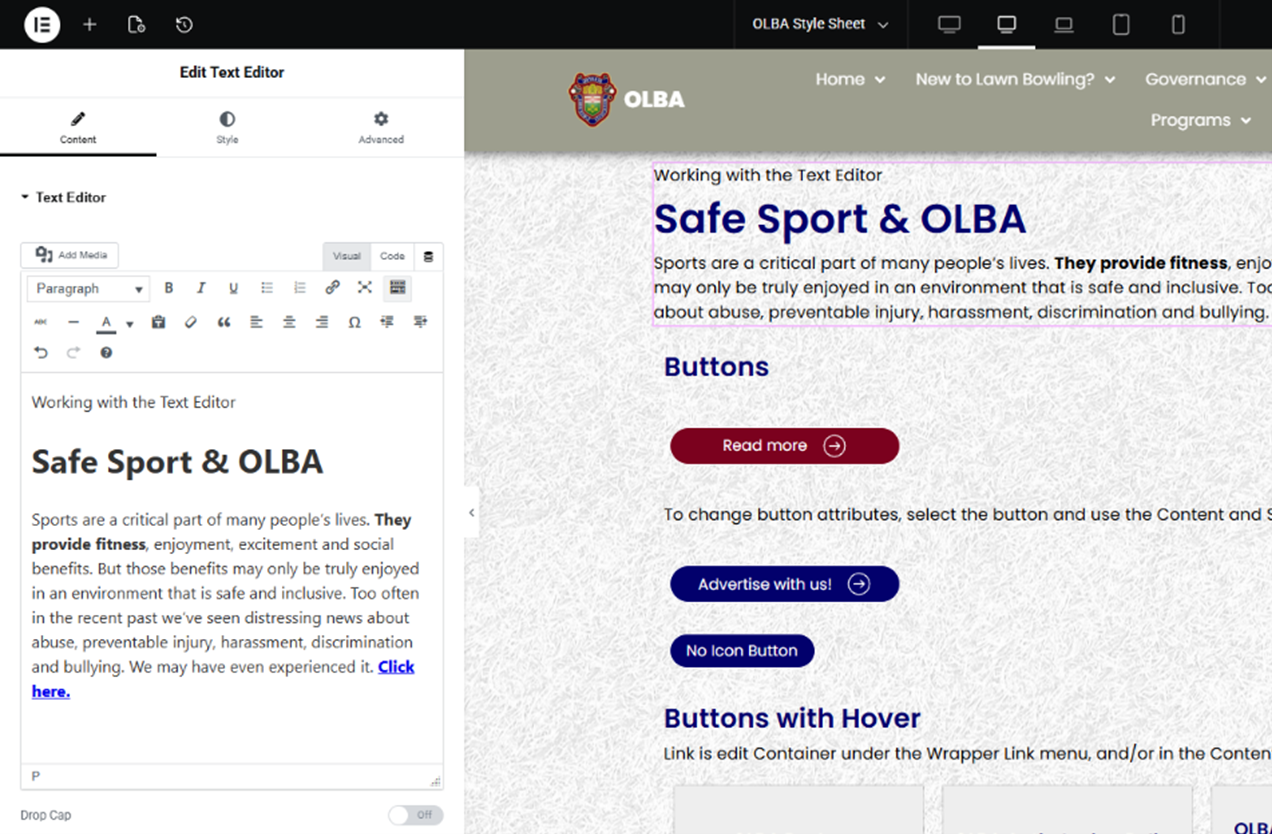
Working with the Text Editor
- Still on this page, click on the ‘Working with the Text Editor’ copy
- Edit Text Editor appears in the left pane with 3 tabs again, but the 1st one is called Content
- Your can enter content directly in this area or cut and paste from a WORD document or an existing webpage
- For this example, I have pasted in an excerpt from the Olba & Safe Sport Page
- To make text bold, select it and click the B button, just like in WORD.
- Adding a link to text, simply highlight the text (Click here), and select the Link icon (Chain) in the Text Editor Toolbar, paste in your link url and click on the Gear icon to open a dialogue box. In this box Check the ‘Open in a new tab’ option, then click update.
- To make the link more visible, make it bold or add some CSS code. You can find the CSS code in the Custom CSS box, under the Advanced tab of the text widget. Copy and Paste this into any text widget to get this effect.
How to add an Underline effect on a Link.
Copy the code below and paste it into the Custom CSS box under the Advanced Tab.
Inserting an image in the Text Editor
- Navigate to the Media Library
- Click the Add Media File and Click Select Files
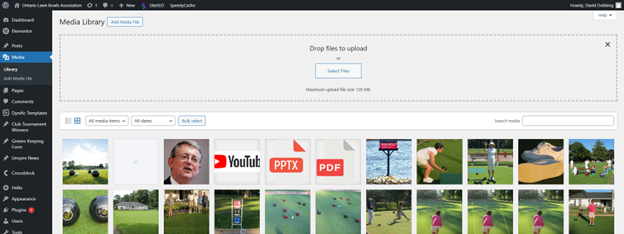
- Select your files to upload from your computer
- Then click on the image you wish to insert into the Text Editor,
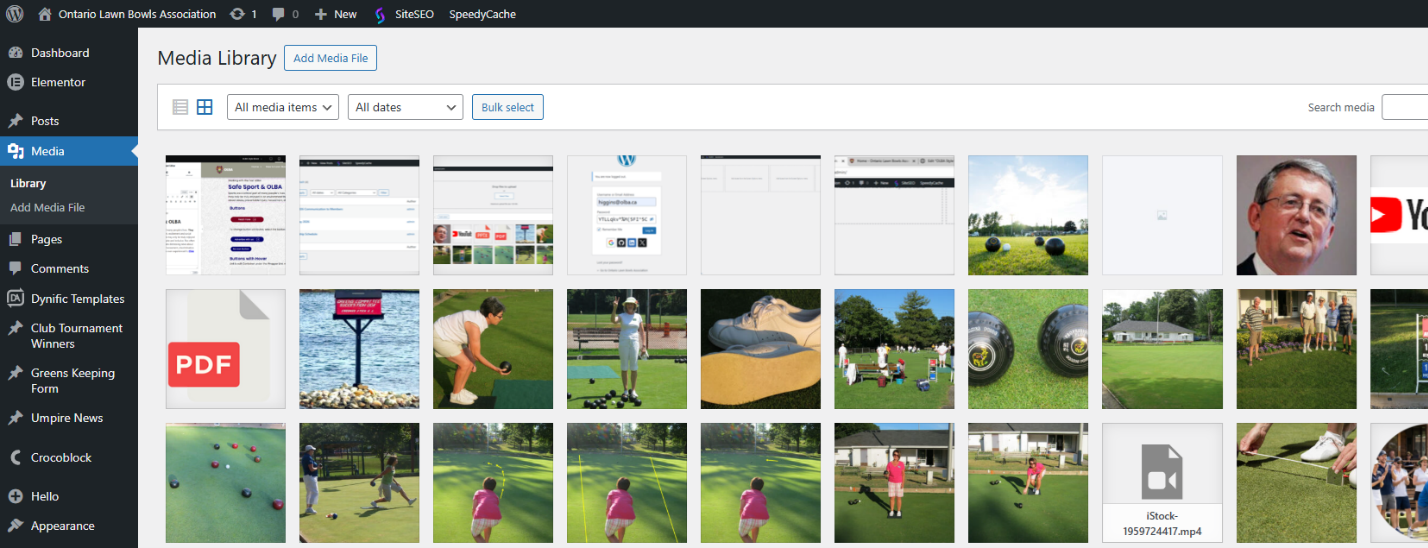
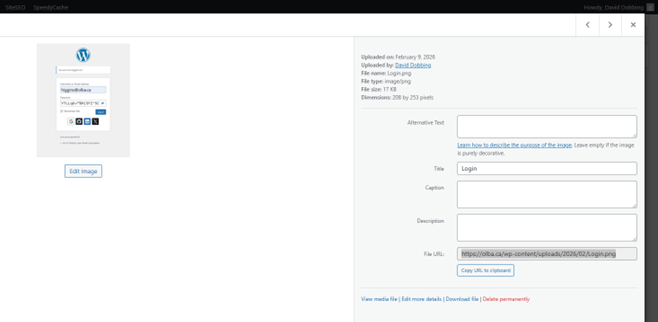
- Click the Copy URL to clipboard button
- Go back to the Text Editor Tab and paste the image url into the editor

Creating a Post
Add Post
- In the Dashboard, under the Posts menu, select Add Posts
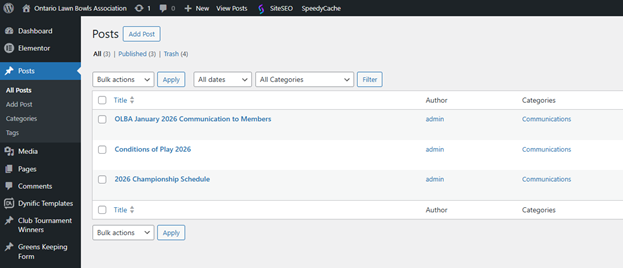
- Add the Post title. Add the Post content (or excerpt) into the Text Editor
- Scroll down to find Featured image in the right-hand pane. Click on Set featured image. Select your image from the Media Library. If the image is not in the Media Library, Click the Upload files tab, and locate your image. If your Post does not have an associated image, use the default Communications image. Click the Set featured image button in the lower right.
- Now, set a Category for the Post. Scroll up to Categories on the right, and check the appropriate Category (Communications)
- At the top of the page, click the Publish button